How to Clean Ashes from Clay Chiminea
This post contains affiliate links. As an Amazon Associate, we earn from qualifying purchases.
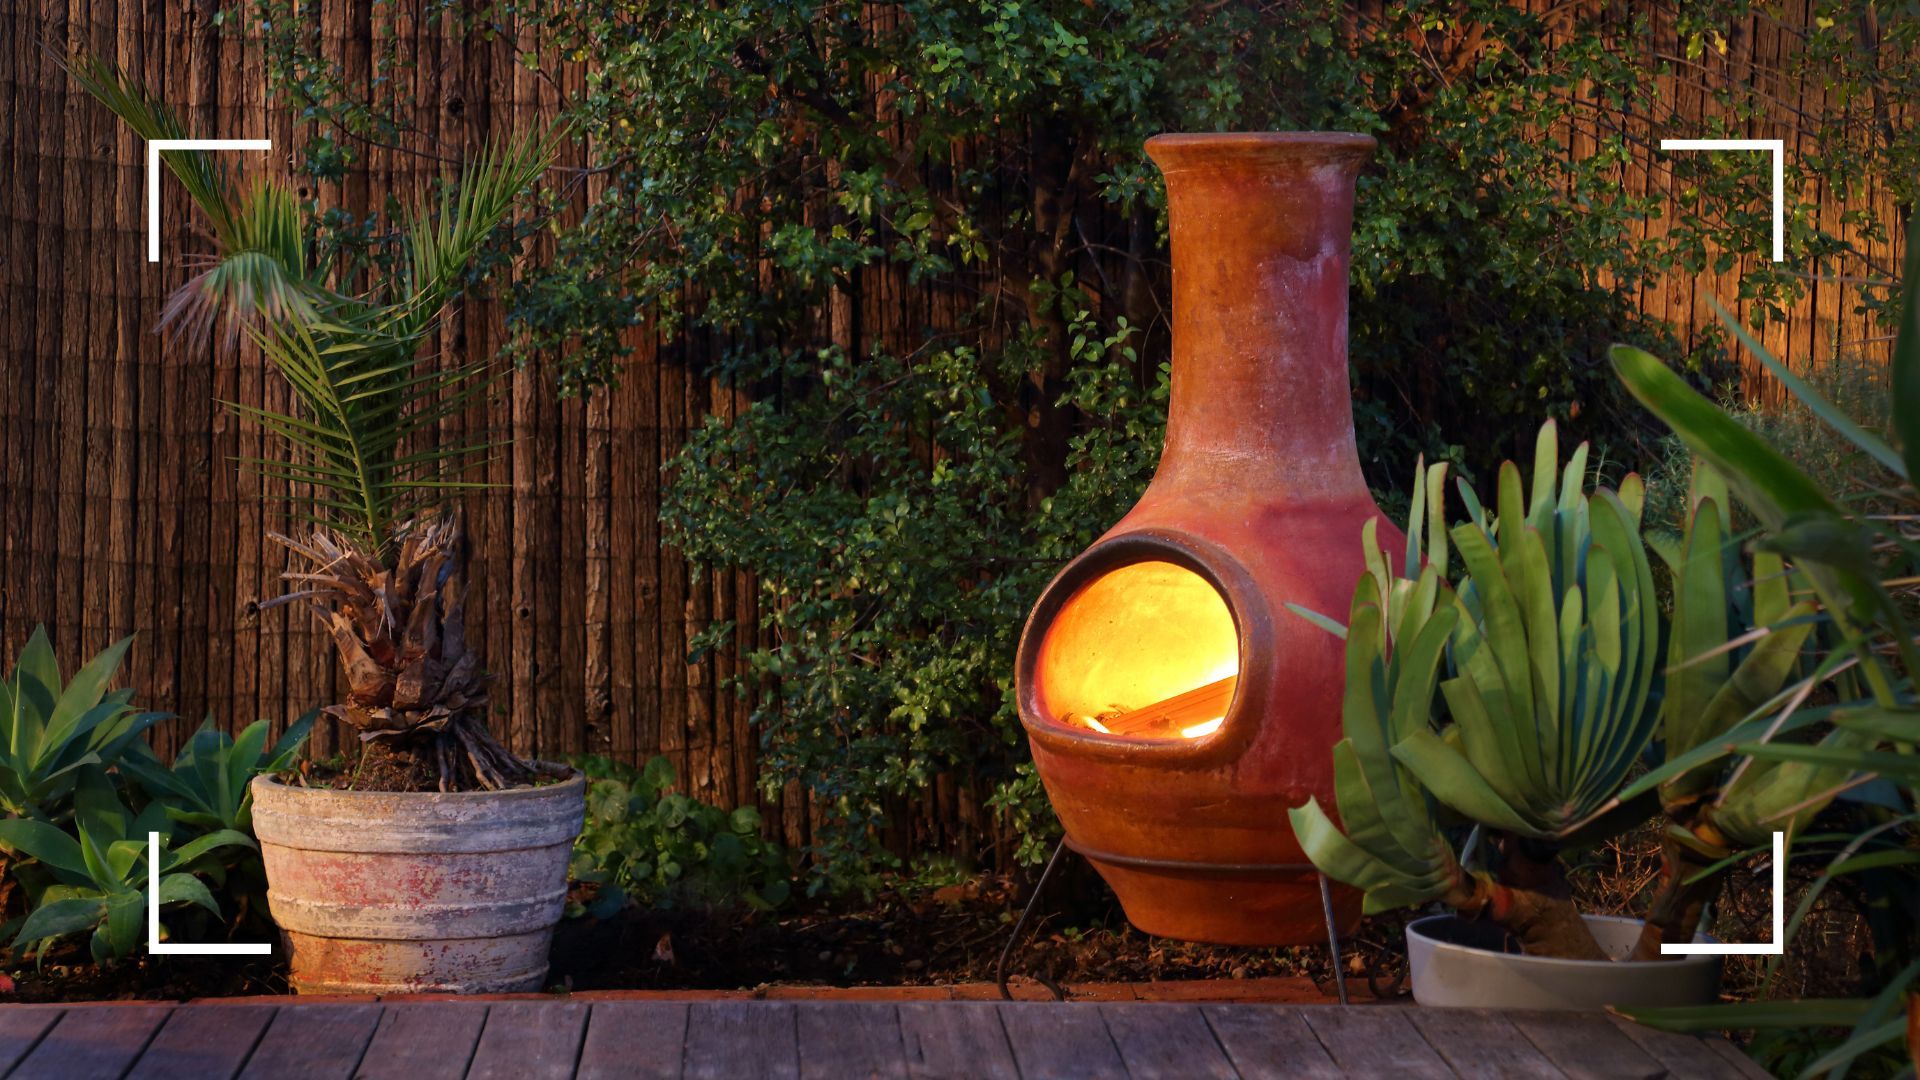
You’ve just finished a perfect evening gathered around your clay chiminea, but now face the reality of a fire pit packed with cold ash. That gritty gray residue coats the interior, dulls the ceramic surface, and threatens your next cozy gathering. If you’ve ever hesitated to clean your clay chiminea outdoor fire pit—wondering whether water is safe or how long to wait—you’re not alone. Most owners make critical mistakes that crack their chiminea within a single season. This guide delivers the exact process to safely remove ash without damaging your investment, using only tools you likely own. You’ll learn precisely when to start cleaning, how to handle hazardous ash particles, and why certain “quick fixes” actually destroy clay chimineas.
Cleaning ashes from your clay chiminea outdoor fire pit isn’t optional maintenance—it’s essential preservation. Unremoved ash traps moisture against the porous clay, causing expansion cracks during your next fire. Residual alkaline particles also corrode the interior over time, weakening structural integrity. Worst of all, built-up ash restricts airflow, creating smoke-choked gatherings instead of clean-burning ambiance. The good news? With the right approach, you can complete this entire process in under 45 minutes while extending your chiminea’s lifespan by years. Let’s transform that ash-clogged fire pit into a pristine outdoor centerpiece ready for your next fire.
Never Skip These Critical Safety Precautions
Rushing the cooling period destroys more chimineas than improper cleaning. Clay retains heat like a thermal battery—what feels cool to your hand might still be 300°F inside. Always wait 48-72 hours after your last fire, especially in cool or humid conditions. Test properly by holding your gloved hand 2 inches from the firebox opening for 10 seconds. If you detect even faint warmth, add another 12 hours of cooling time.
Your protective gear isn’t optional when cleaning ashes from a clay chiminea outdoor fire pit. Ash contains alkaline compounds that burn skin and fine silica particles that scar lungs. Before touching anything, assemble:
– N95 respirator mask (P100 preferred for ash micro-particles)
– Leather work gloves (thin synthetics won’t block alkaline irritation)
– Safety goggles (ash dust permanently damages eyes)
– Long-sleeved cotton shirt (synthetics melt if hidden embers ignite)
Essential Tools for Ash Removal Without Damage

| Tool | Why It’s Critical | Dangerous Substitutes to Avoid |
|---|---|---|
| Metal ash scoop | Removes bulk ash without scratching | Plastic scoops (melt on hidden embers) |
| Nylon-bristle brush | Dislodges soot without micro-scratches | Steel wool (creates moisture-trapping grooves) |
| Ash-rated shop vacuum | Captures invisible ash particles | Household vacuums (ash ignites motor) |
| Metal bucket with lid | Safe ash storage for 7+ days | Cardboard boxes (spontaneous combustion risk) |
| Plastic scraper | Lifts caked residue gently | Screwdrivers (cracks clay instantly) |
Pro Tip: Label your brush “chiminea only” with permanent marker. Using the same brush indoors transfers soot that stains carpets and upholstery.
Remove Ash in Five Foolproof Stages
Stage 1: Prepare Your Work Area
Clear a 6-foot radius around your clay chiminea outdoor fire pit. Lay an old tarp to catch falling ash—this prevents patio staining and simplifies cleanup. Remove any decorative covers, then carefully scoop out the protective sand or gravel layer into a separate bucket. This reusable base layer shields your chiminea from direct flame contact during future fires.
Stage 2: Scoop Bulk Ash Safely
Working from back to front, remove loose ash in 1-inch layers using your metal scoop. Tap the chiminea’s bowl firmly with the scoop handle to release ash pockets trapped beneath the grate. Never dump ash directly into plastic bags—even “cold” ash can reignite hours later. Transfer to your metal bucket immediately after each scoop.
Stage 3: Dislodge Stubborn Residue
Brush interior walls with downward strokes to avoid pushing ash deeper into crevices. For baked-on clinker (hardened ash), gently scrape with a plastic card—credit cards work perfectly. Pay special attention to the flue neck where ash accumulates; insert your brush 6-8 inches upward and rotate to clear blockages.
Stage 4: Vacuum Invisible Particles
Set your ash-rated shop vac to low suction. Angle the metal hose toward corners where micro-ash collects, moving slowly to avoid static sparks. Stop every 30 seconds to check the hose for clogs—ash buildup creates dangerous pressure. Never vacuum if you detect warmth; residual heat means insufficient cooling time.
Stage 5: Final Crack Inspection
Run your gloved hand along interior seams to feel for hairline fractures. Check the firebox base for stress cracks where ash buildup was heaviest. Address any damage now with high-heat sealant before your next fire to prevent catastrophic failure.
Smart Ash Disposal and Garden Uses
Store ash in your metal bucket for 7 full days before disposal—even “cold” ash can reignite yard waste. Keep the bucket on concrete away from structures, and never add new ash to existing storage.
Wood ash (from untreated firewood only) becomes garden gold when used correctly:
– Soil amendment: Sprinkle ≤20 lbs per 1,000 sq ft annually to raise pH
– Slug deterrent: Create 1-inch ash rings around vulnerable plants
– Compost booster: Add 1 cup per compost batch for potassium
Critical restrictions: Never use ash near acid-loving plants (blueberries, azaleas, rhododendrons) or on vegetable gardens with root crops. Coal or charcoal ash must go in landfill—never compost.
Clay-Specific Cleaning Techniques That Prevent Cracks
Interior Cleaning Protocol
Never use soap or water inside your clay chiminea outdoor fire pit. Chemical residues steam-explode when heated, while moisture trapped in pores causes cracking. For extreme buildup, lightly mist with a spray bottle, wait 5 minutes, then brush and vacuum. Always air-dry the interior 24 hours before reusing—set a fan blowing across the opening to speed drying.
Exterior Wash Method
- Dry brush surface with soft broom to remove loose particles
- Mix solution: 2 tsp dish soap per gallon of warm water
- Wipe gently with microfiber cloth—never scrub
- Rinse with low-pressure hose (≤500 PSI)
- Air-dry 48 hours in full shade (direct sun causes uneven contraction)
Stain Removal That Works
- Soot streaks: Apply baking soda paste (1:1 baking soda/water), wait 10 minutes, then wipe with damp cloth
- Mineral deposits: Dampen cloth with 1:1 vinegar/water solution, wipe residue, rinse immediately
- Never power wash—even “gentle” settings fracture clay over time
Rebuild Your Fire Pit Base Properly
Dry sand or gravel completely before reuse. Spread wet material on a tarp in 1-inch layers. Turn every 2 hours in sunlight (6-8 hours total) or 4 hours in shade (24 hours total). Test dryness by squeezing—a damp spot means more drying time.
Reassembly sequence matters:
1. Pour 2-3 inches of dry sand into the bowl base
2. Level smoothly with the back of your scoop—no lumps
3. Add optional 1-inch lava rock layer for drainage
4. Position chiminea on stand never lifting by the neck
5. Cover only when bone-dry to prevent mildew growth
Avoid These 5 Costly Cleaning Mistakes
- Water dousing after fires → Creates instant steam pressure that cracks clay (always let fires burn out naturally)
- Leaf blowers for ash removal → Forces particles into landscaping and chiminea crevices
- Plastic bag ash storage → Causes spontaneous combustion in garages (use only metal containers)
- Steel brushes on interior → Leaves microscopic scratches that trap moisture and accelerate cracking
- Rushing the drying process → Painting or covering damp chimineas traps moisture, causing freeze-thaw damage
Seasonal Cleaning Schedule for Longevity
| Usage Frequency | Ash Removal | Deep Clean | Sealant Application |
|---|---|---|---|
| Occasional (monthly) | Every 3-4 burns | End of season | Every 6 months |
| Regular (weekly) | Weekly | Monthly | Every 3 months |
| Heavy (multiple weekly) | After every fire | Bi-weekly | Monthly |
Critical storage step: Before winter, empty all sand, dry 72 hours in garage, then store upright on wooden pallet indoors. Covering a damp chiminea in storage guarantees cracking.
Your clay chiminea outdoor fire pit now has a clean slate for countless future fires. By following these precise ash removal steps, you’ve prevented moisture damage, eliminated airflow restrictions, and preserved your chiminea’s structural integrity. Remember that consistent ash removal after every 3-4 burns takes just 15 minutes but adds years to your fire pit’s life. For your next fire, start with that fresh 2-inch layer of dry sand—you’ll notice hotter flames and cleaner burns immediately. Keep this guide handy for your seasonal maintenance, and your chiminea will become the enduring heart of your outdoor gatherings for seasons to come.